A 6-Step Guide to Container Plantings
We’ll take you layer by layer to ensure your plants take root and thrive in their pots all season long.
With the last bomb cyclone hopefully behind us, we Coloradans are ready to enjoy warmer weather and the delightful flora that comes with it. If you’re keen on enjoying container plantings as part of your Colorado home’s landscape design, then you’ll want to heed these tips and tricks—many of which aren’t common knowledge.
A container planting is a micro-climate, and a handful of factors can determine whether it dies, merely survives, or thrives. We’ll take you step by step—and layer by layer—to ensure your plants take root and prosper in their pots all season long.
Step 1: Find a container.

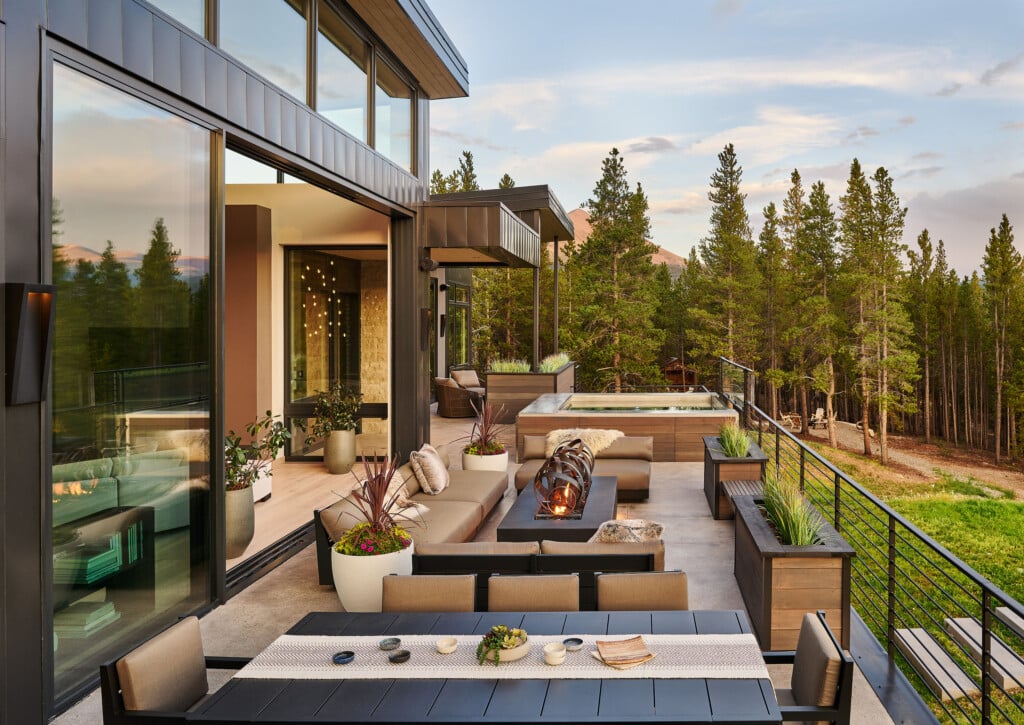
There are thousands of container styles, but we recommend keeping it simple. When it comes to choosing the right material, glazed ceramic is best. When in contact with unglazed, natural ceramic containers, water will actually wick straight through the material, whereas a glaze finish will prevent this from happening.
Metal containers are another possibility, but it’s important to stay mindful of the heat metal can attract and retain, as some plants don’t do well in hot and dry soil. Examples of plantings that can handle the heat are geraniums, petunias, and canna lilies.
And while not all containers are made alike, there are two rules you can always go by. The first is: Bigger is better. Larger containers hold more soil, and the larger the volume of soil, the larger the reservoir of water. The second is: make sure there’s a drainage hole at the bottom of your container.
Once you’ve chosen the right container, it’s time to…
Step 2: Add a small layer of stone at the bottom.

Most plants need a good amount of water, especially here in Colorado, and water in translates to water out. On top of using a container with a drainage hole, you’ll want to add a layer of stone to the bottom of the container. How many rocks? A good rule of thumb is that the stone layer should be 20 to 30 percent of the overall height of the container. If you have a very large container—30 to 36 inches or taller—then you can add more stone at the bottom.
Step 3: Place a layer of fabric over the stones.

A layer of landscape fabric should lie between the stone layer and the potting soil, as the stone and soil layers serve distinctly different purposes and should be separated. The fabric will also allow the water to drain efficiently.
There is an old wives’ tale that advocates for placing things like packing peanuts and soda cans between the stone and soil layers, but please do not fall prey to this myth. These types of items will lessen the volume of soil, while landscape fabric will not. On top of the fabric you want to have pure, unadulterated potting soil. Speaking of…
Step 4: Pre-hydrate your soil.

When it comes to choosing the container planting material, a basic potting soil will get the job done—no need for fancy “miracle” products. The important thing is to keep your soil hydrated and healthy.
Something many people don’t know: Your soil needs to be pre-hydrated before adding it to the container. Potting soil is shipped dry and is actually hydrophobic, which means it takes a lot of watering before the soil will hold water. How will you know if you’ve successfully pre-hydrated your potting soil? Pick up a handful of soil and squeeze it—water should drip out.
Step 5: Be mindful of direct sunlight.

Aside from the size of the container, location and exposure are of paramount importance. Some people want to sit out by the pool all day, while other people are highly sensitive to too much sunlight—and plants are no different. It’s imperative to know where your containers are going to live and how exposed those spots are. Are they on the south side of the house in the blazing sun or on the north side of the house that never receives direct sunlight?
Plant tags will come in handy when shopping for plants at your local nursery that can thrive in certain levels of sun exposure. If the container will be receiving six or more hours of direct sunlight, then choose plants with the “full sun” symbol on their tags—it’s usually safe to always choose the full sun symbol, because there are not a lot of places in Colorado that are truly full-shade.
If your plantings are located under an awning, ask yourself, “Is it always out of the sun? How much sun sneaks into the side of the awning?” A lot of people don’t actually know—but it will serve you greatly to do a little research and observation.
Step 6: Continue hydrating and nourishing.

Now that you’ve set the stage with a properly selected and prepared container, complete with pre-hydrated soil, and have the correct plants for their location, you’ll need to make sure your container plantings are maintained and consistently watered. If you’re unsure about how much water a plant needs, here’s a quick test: Place your finger into the soil 1-2 inches deep (don’t mind the top layer of soil, as its color can be misleading). Is the soil warm and wet, slightly moist, or dry? If it’s wet, don’t water that day. If it’s moist, water half what you think you should. And if it’s dry, water it twice—two servings, so to speak.
When it comes to fertilizer—also known as the “nutrition” of the potting soil—use a balanced, slow-release granular product 10 days after planting and then two more times during the season (depending on the label).
With these expert tips on hand, your container plantings are sure to thrive and add even more color and interest to your landscape design. Happy gardening!
Eric Ball is the Enhancement Sales and Production Manager at Lifescape Colorado, a Denver-based landscape architecture, construction, and property care firm. View their profile or reach one of Lifescape’s trusted professionals at 303-831-8310.
Content for this article provided by Lifescape Colorado.